And here it is!
I actually have a headboard! Yes, there are more than 3 little birds but the pattern is 3 different rows, each with 3 different birds so I went with it.
Let me remind you of the Before:
So sad. There are a few things I should mention:
1. We repainted the walls in BEHR Dolphin Fin.
2. I picked out some new bedding that works well for the "I don't like ironing"aesthetic.
3. The little bird pillow isn't a pillow at all just an extra bit of fabric wrapped around a pillow insert.
OK. This ended up being a bit more time consuming than I initially thought it would be. And not just because I had to get out the ironing board.
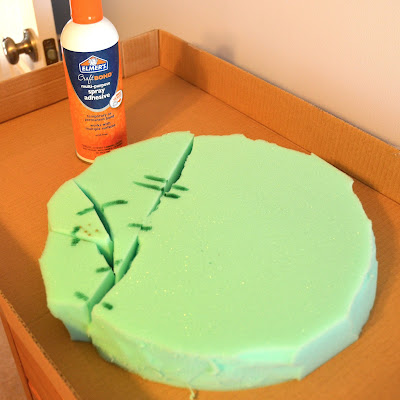
I made my own template and some of those curves and angles were not very accommodating when it came to cutting foam or wrapping the fabric. I actually sketched out 4 designs and asked the family. This design was unanimous.
Now you know where all my scraps from
my Ikea stool project came from.
After covering the green foam with batting, it was still pretty obvious that there was green foam underneath. Even with the final fabric over the top, there was still a faint green hue. I added a layer white cotton fabric to save the day.
I hadn't originally planned on making buttons and tufting. In
fact, I only decided to do that AFTER the entire headboard was
finished. But it was at this point that I began to think they might be necessary because the fabric was just not smooth.
In hindsight, I'm glad I waited until the final fabric was on the headboard before I settled for certain on using buttons. I was able to place them exactly where I wanted them in relation to the rows of birds. It just came down to quite a bit of measuring to make sure my marks on the back were in the right place. Then I drilled holes through the wood, threaded a long needle with twine through to the front, added the button and then pushed the needle back through the same hole in the foam and wood. I used a dozen spare buttons to secure the twine on the back of the headboard. This worked out really well for holding tension when I tied knots.
Measure twice, drill once.
I took some fabric scraps that I had trimmed off and turned them into buttons with the help of some inexpensive Dritz cover button refills.
I chose not to add legs. This headboard is huge enough. Might I want to position the bed not against a wall? Probably not, but I will address that issue if it ever arises. We hung the headboard directly on the wall. I was thinking of using a flush mount and then we came across
these awesome hangers. Level included! Bonus! Slides back and forth for easy centering. Love em. Crazy easy to hang. And sturdy. Nothing is going to fall on my head while I'm sleeping.
Our bedroom had officially grown up just a little bit.


